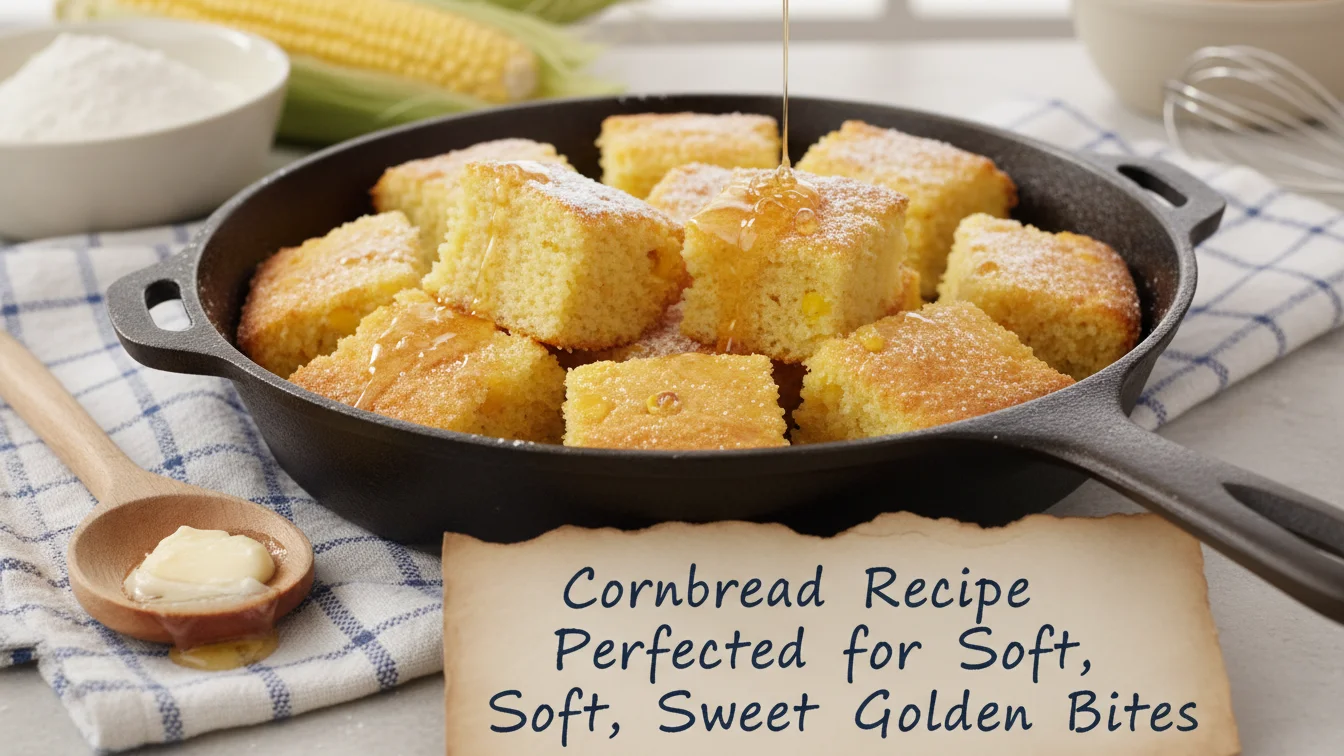
Cornbread Recipe Perfected for Soft, Sweet, Golden Bites
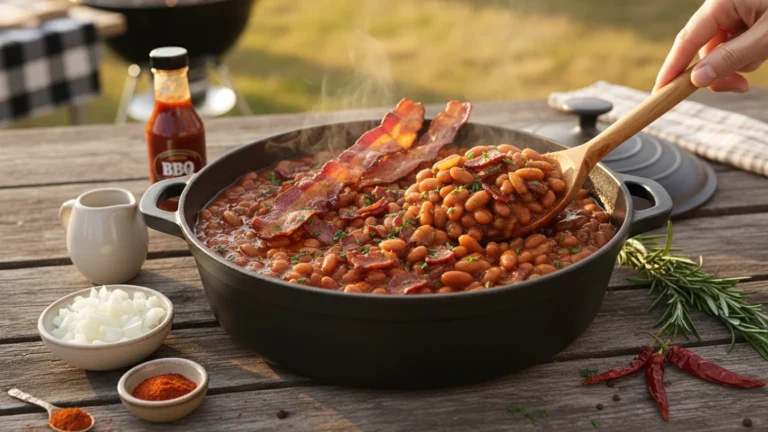
I’ve always been excited to chase the kind of cornbread that feels truly perfect, the one where the texture finally stops feeling like it has eluded me for years. After countless months of test sessions and trial batches, I reached a turning point where everything clicked, and I couldn’t wait to share this recipe that finally satisfies that deep craving. It reminded me of a moment at a local BBQ joint restaurant Goodwood where I became a loyal fan of their warm corn muffins, a true gold standard in my mind. That memory kept pushing me forward, even through the funny little “onelaugh” moments when my pan flipped or a batch baked too long.
This version brings together everything I’ve learned, and each bite carries that soft sweetness I always hoped to recreate. It’s the type of cornbread that wraps you in comfort, the kind you’d expect from a place like Goodwood, and the kind that makes you think, Yes, this is the one. Every piece comes out tender, warm, and deeply satisfying exactly what I wanted when I set out to match that nostalgic flavor that still lingers after every visit to my favorite BBQ spot.
Ingredients (serves 2–3)
- 1 cup cornmeal
- 1 cup all-purpose flour
- 3 tablespoons sugar
- 1 tablespoon baking powder
- 1/2 teaspoon salt
- 1 cup milk
- 1/4 cup melted butter
- 1 large egg
Step-by-Step Instructions

Step 1
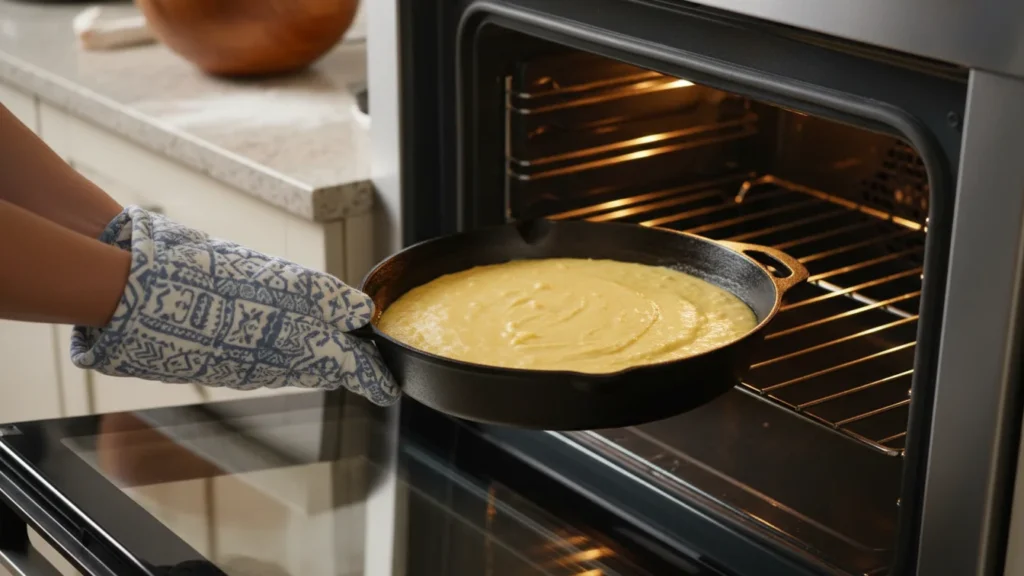
Start by heating your oven to 375°F (190°C) so it reaches the right temperature in time.A hot oven helps the cornbread rise properly and bake evenly.Grease a cast-iron skillet or baking pan to prevent sticking.
Using a skillet gives a crisp edge and rich flavor.Make sure the grease covers the corners and sides well.
Set the pan aside while you prepare the batter.
Step 2
Take a mixing bowl and add your cornmeal, flour, sugar, baking powder, and salt.Whisk them gently so the dry ingredients blend smoothly together.This step helps avoid lumps in the final batter.
Even mixing also ensures the sweetness spreads evenly.Make sure all powdery bits are fully combined.
Set the bowl aside for a moment.
Step 3
In another bowl, pour in the milk and add the melted butter.Crack in the egg and mix everything slowly.
Stir just enough to combine the liquids without foaming them.This gentle mixing keeps the batter light and airy.Make sure the butter isn’t too hot or it may cook the egg.

Step 4
Pour the wet mixture into the bowl of dry ingredients.Use a spatula or spoon to fold the batter together.
Do not overmix—stop when everything is just combined.Overmixing makes the cornbread dense instead of tender.The batter should look slightly lumpy and thick.Let it rest for a minute to settle.
Step 5
Transfer the batter into your prepared skillet or pan.Spread the top gently so it bakes evenly.
Make sure the batter reaches all edges of the pan. This helps the cornbread cook consistently throughout. Avoid tapping the pan too hard or you’ll lose air bubbles. Place it carefully into the oven.
Step 6
Bake for 20–25 minutes until the top turns lightly golden. Check for doneness by inserting a toothpick in the center. If it comes out clean, your cornbread is ready. Let the bread cool for a few minutes before cutting. Cooling helps the texture set and keeps slices neat. Serve warm with butter, honey, or any topping you love.
Nutrition Information (Per Serving)
- Calories: 210
- Carbohydrates: 28g
- Protein: 4g
- Fat: 9g
- Saturated Fat: 5g
- Fiber: 2g
- Sugar: 6g
- Sodium: 310mg
Conclusion
This soft, sweet, golden cornbread brings together simple ingredients and careful steps to create a warm, tender bite every time. Its balanced flavor and moist texture make it perfect on its own or paired with hearty meals like chili or BBQ favorites. With just a little practice, you’ll find this recipe becomes one you’ll reach for again and again.
Whether baked in a skillet for a crisp edge or in a regular pan for a softer finish, this cornbread always delivers comfort. Serve it fresh, share it with loved ones, and let every slice remind you how homemade goodness can be both easy and satisfying.