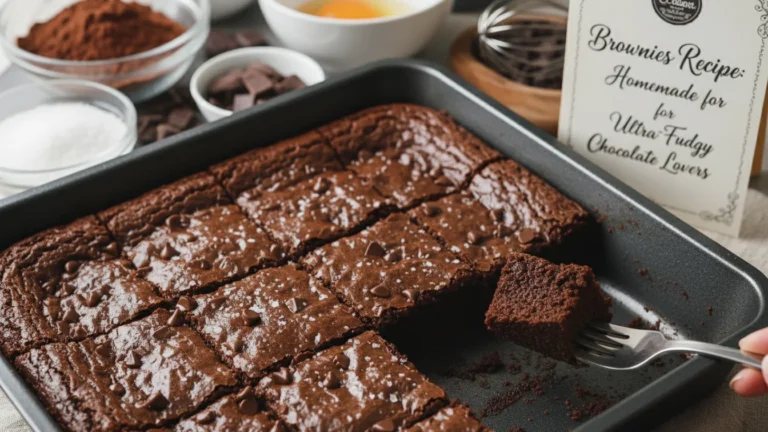
Chocolate Chip Cookies With a Secret Twist You’ll Love
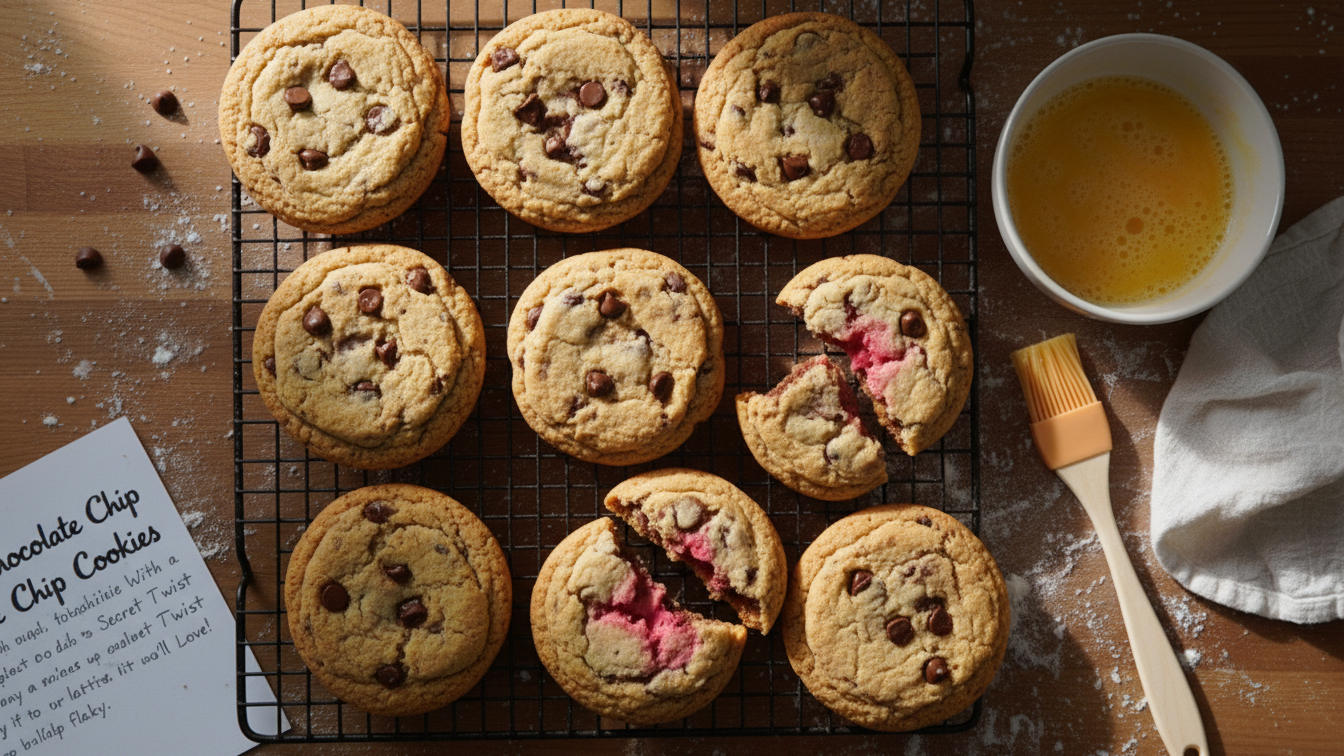
Chocolate chip cookies are more than just a dessert they’re a warm, nostalgic treat that brings comfort with every bite. The perfect balance of buttery dough and melty chocolate chips creates a texture that’s both soft and slightly crispy, making each cookie irresistibly delicious. Whether enjoyed fresh out of the oven or saved for later with a glass of milk, they always feel like a small moment of joy.What makes these cookies truly special is how simple they are to make while still delivering big flavor.
A few basic pantry ingredients come together to create something magical, filling your kitchen with a cozy aroma that’s impossible to resist. Share them with loved ones or savor them on your own; either way, chocolate chip cookies always make the day a little sweeter.
Ingredients (serves 2–3)
- 1 cup all-purpose flour
- ½ teaspoon baking soda
- ¼ teaspoon salt
- ¼ cup unsalted butter (softened)
- ¼ cup white sugar
- ¼ cup brown sugar
- 1 teaspoon vanilla extract
- 1 small egg
- ½ cup chocolate chips
Step-by-Step Instructions

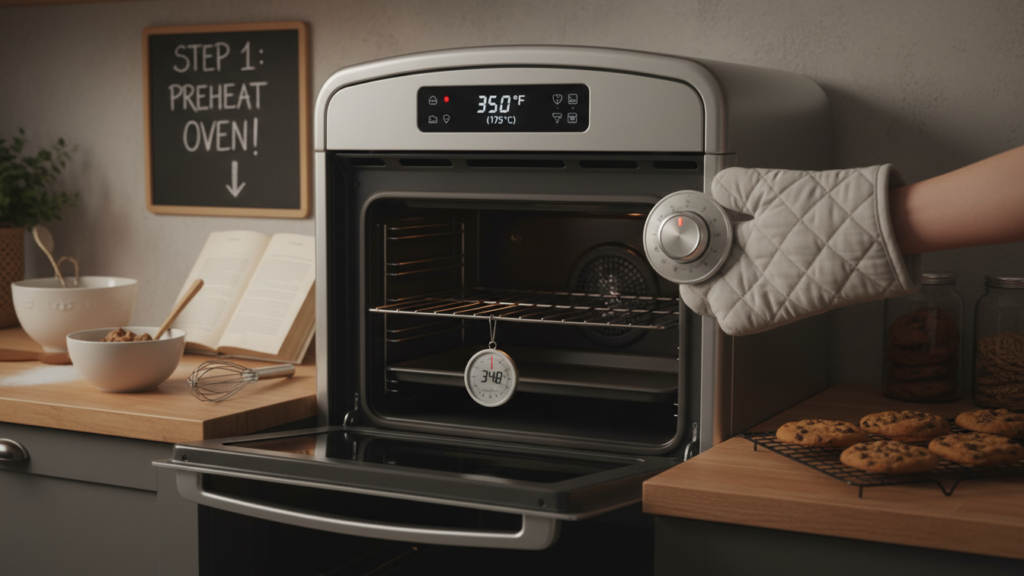
Step 1 Preheat the oven
Preheat your oven to 350°F (175°C) so it reaches temperature before baking. This ensures even baking and proper spread of the cookies. Place a rack in the middle position for best heat circulation. When the oven is fully hot, you’ll get consistent browning on each cookie. A cold oven can make cookies flat or under baked in the center. Use an oven thermometer if you suspect your oven runs hot or cold.
Step 2 Prep baking sheets and tools
Line a baking sheet with parchment paper or a nonstick mat. Parchment prevents sticking and helps cookies brown evenly underneath. Have a cookie scoop or tablespoon ready for even-sized cookies. Keep a small bowl of water nearby to wet your fingers if dough is sticky. Pre measuring ingredients first (mise en place) speeds the process. If using multiple sheets, rotate them halfway through baking for evenness.
Step 3 Mix dry ingredients
In a bowl, whisk together 1 cup flour, ½ tsp baking soda, and ¼ tsp salt. Mixing distributes the leavening so cookies rise uniformly. Sift if you want an extra-light texture, but whisking is fine. Set this bowl aside while you prepare wet ingredients. Dry ingredients should be at room temperature to combine smoothly. Avoid overworking once combined with wet ingredients to keep cookies tender.
Step 4 Cream butter and sugars
In a larger bowl, beat ¼ cup softened butter with ¼ cup white sugar and ¼ cup brown sugar.
Beat until the mixture is pale and slightly fluffy — about 2–3 minutes by hand. Proper creaming traps air that helps create a tender interior. If butter is too cold, it won’t combine well; too warm makes cookies greasy. Scrape down the bowl to ensure even sweetness and texture. You should see a lighter color and a smoother texture when ready.
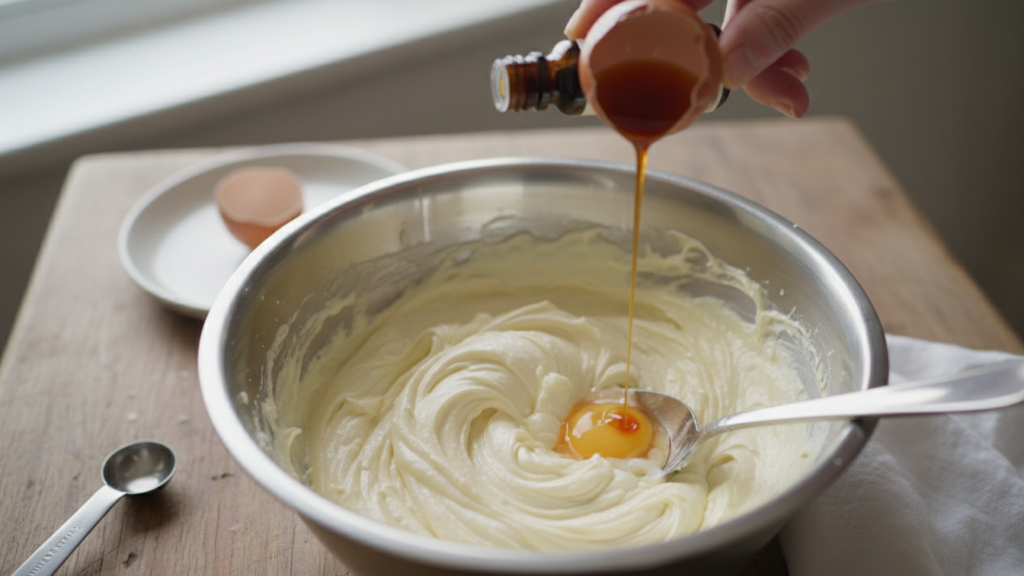
Step 5 Add egg and vanilla
Crack in the small egg and add 1 tsp vanilla extract to the butter-sugar mixture. Beat just until combined so the batter stays light and not overworked. The egg adds structure and moisture; vanilla adds warm flavor depth. If the mixture looks curdled, keep mixing it will come together. Do not add extra liquid; measure ingredients accurately for best results. Scrape the bowl again to fold in any hidden streaks of butter or sugar.
Step 6 Combine wet and dry ingredients
Add the dry flour mixture to the wet ingredients in two additions for easier mixing. Stir gently after each addition until just incorporated, do not overmix. Overmixing develops gluten and makes cookies tough instead of tender. Use a spatula to fold and scrape the bowl sides for even distribution. The dough should look cohesive and slightly sticky when done. If too dry, a teaspoon of milk can help; if too wet, a tablespoon more flour.
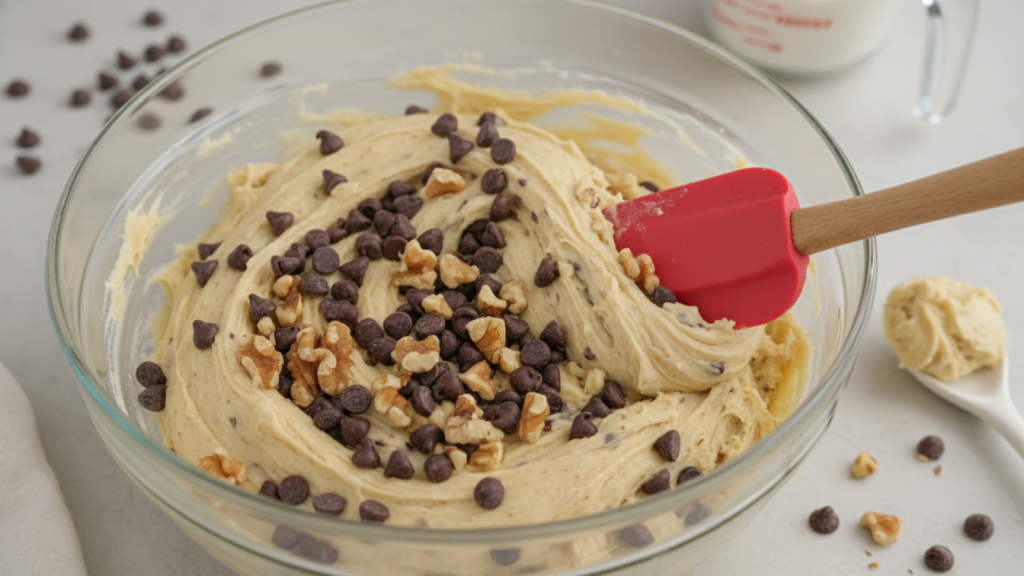
Step 7 Fold in chocolate chips (and nuts)
Add ½ cup chocolate chips to the dough and fold them in evenly with a spatula. If using nuts, fold in 2 tbsp chopped nuts now for texture and flavor. Distribute chips so each scoop will have a good amount of chocolate. Avoid smashing chips, gentle folding preserves dough texture. Taste a tiny bit of dough (raw egg warning) only if you’re comfortable doing so. Chill is not required for this recipe, but 10–15 minutes can reduce spreading if desired.
Step 8 Scoop and space cookies
Use a cookie scoop or tablespoon to portion dough into even balls. Place them on the prepared sheet about 2 inches apart to allow spreading. Slightly flatten each ball with your fingers for a more uniform cookie shape. For larger cookies, use more spacing and increase bake time by a few minutes. A quick sprinkle of coarse sugar or extra chips on top is optional. Dough can be baked immediately, no long resting needed for this recipe.
Step 9 Bake and finish
Bake at 350°F (175°C) for 9–12 minutes, until edges are golden but centers look set. Rotate the sheet halfway if your oven has uneven hot spots for even browning. If tops brown too fast, tent with foil loosely and continue baking until done. Remove cookies to a wire rack after 2 minutes to finish setting and cool evenly. Cooling lets the centers finish cooking and prevents them from being doughy. Store cooled cookies in an airtight container; they stay soft for days.
Nutrition Information (Per Serving)
- Calories: 210–240 kcal
- Carbohydrates: 28g
- Protein: 2g
- Total Fat: 11g
- Saturated Fat: 6g
- Cholesterol: 25mg
- Sodium: 120mg
- Fiber: 1g
- Sugars: 18g
Conclusion
These chocolate chip cookies prove that a simple recipe can still deliver extraordinary results. With their soft centers, golden edges, and irresistible chocolate pockets, each bite feels warm, comforting, and a little magical. Whether you’re baking them for a special occasion or just treating yourself, this recipe is easy, reliable, and guaranteed to impress. Keep it on hand as your go-to cookie recipe whenever you need something sweet, satisfying, and unforgettable